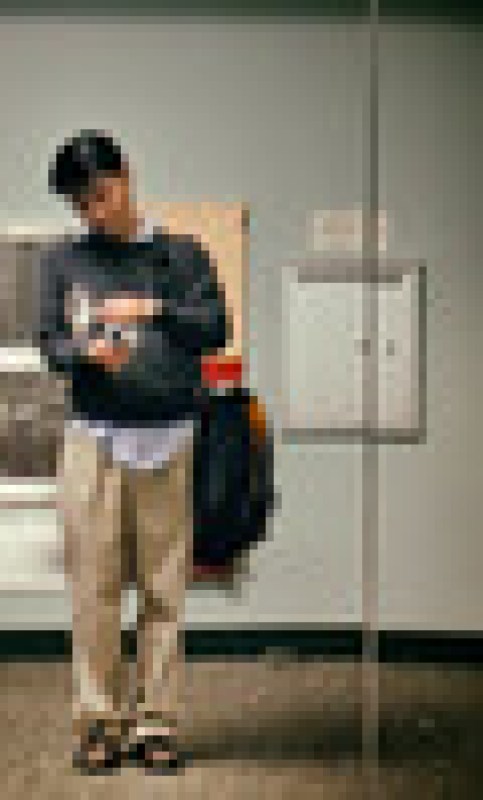
Photo from August 27, 2007
In the fall of 2007, my friend Megan McCarthy wrote an amusing article on valleywag on the wardrobe of Silcon Valley: a blue oxford button down dress shirt and khaki pants. It’s basically a safe bet at tech meet ups that you’ll see more white guys in blue button downs than anything else.
Later that month, I hadn’t ironed my clothing in a while so all that was usable in my closet were those aforementioned blue button downs. So this particular day, as I was wearing “the uniform,” I took a self-portrait to show I’m as original as all the west. Granted, it’s a little bit different, but that’s because San Francisco is a bit colder than valley 40 miles to the south.

North Beach, San Francisco, California
Panasonic DMC-LX1
1/4 sec at f/4.9, iso 200, 23.2mm (103mm)
I actually took and processed this image a long time ago for a blog post I never did.
This was taken while waiting for the elevator in the lobby of my apartment on my way home after work just after I picked up mail. Mirrors, which are optically perfect against chromatic aberrations have a lot of loss of light when combined with the zoom needed to keep the proportions reasonable, you get a difficult lighting situation where I should even the in-camera image stabilization can only did so much, The photo isn’t the best.
I went with the nik toolset because DxO doesn’t have the old LX1 camera profile and Adobe Lightroom’s noise reduction algorithm is terrible at minimizing artifacts. I actually attempted to do pre-processing in Lightroom however a good algorithm should take the math of shot noise correctly to apply larger smoothing in shadows than highlights, when you pre-process the image, you mess with that algorithm. nik Dfine’s algorithm is good; Lightroom’s is terrible. I think Topaz’s more aggressive de-noising would have been even better.
Here is a blow up of the above photo after pre-processing with nik tools but with basic exposure and color controls applied in Lightroom CC:

Here is a blow up of the same basic corrections with the noise reduction and sharpening applied via the details panel of the develop module in Adobe Lightroom CC 2015. Notice how it “finds” detail that isn’t (but instead is in the the shadow/highlight and vibrance/saturation controls) and then magnifies those artifacts to create weird non-random patterns. Earlier versions of adaptive dynamic range optimization hardware/software create similar patterns in astrophotography.

While the digital “grain” in the former image is magnified due to the post-application of Lightroom’s basic panel, it’s not a total disaster like the latter is.
Finally, I wanted non-digital graining, so I avoided Lightroom’s corrections and stayed in the nik toolset to simply use Analog Efex 3 for the final processing. This is the first time using that tool which explains why I can’t get the colors and contrast to where I’d prefer. Note that if you add film grain, there’s no need to do as any faux film grain will sharpen the image for you. I also kicked in some dust and noise stuff since the image quality was terribly anyway, that way I can pretend that this was a scanned photograph that was tack sharp at one time. 😉
One thought on “My South Bay Uniform”